Deploying Statiq to Azure Static Web App
Statiq is a static content generator written in C# that is used to generate the site you are reading right now. It is an incredibly robust and feature full project, Below is a series of steps that you can walk through to create your own blog similar to this one.
The source for the app that generates this site is open source at https://github.com/e13tech/blog. Feel free to browse the source and get inspiration for your own project.
Deploy to Azure Static Web App using Github Actions
Static Web Apps is an offering in Azure that is currently in preview that streamlines the deployment of applications from GitHub. It has a few limitations in preview but being able to quickly setup
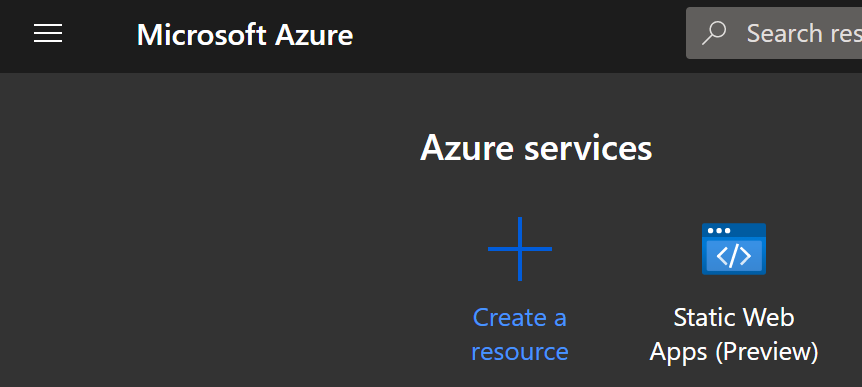
Create new Static Web App resource in the Azure Portal

Note this is still in preview so it may not be ideal for widespread production use however while it is in preview having a platform to host a static site with a custom domain over https for free is an incredible value.
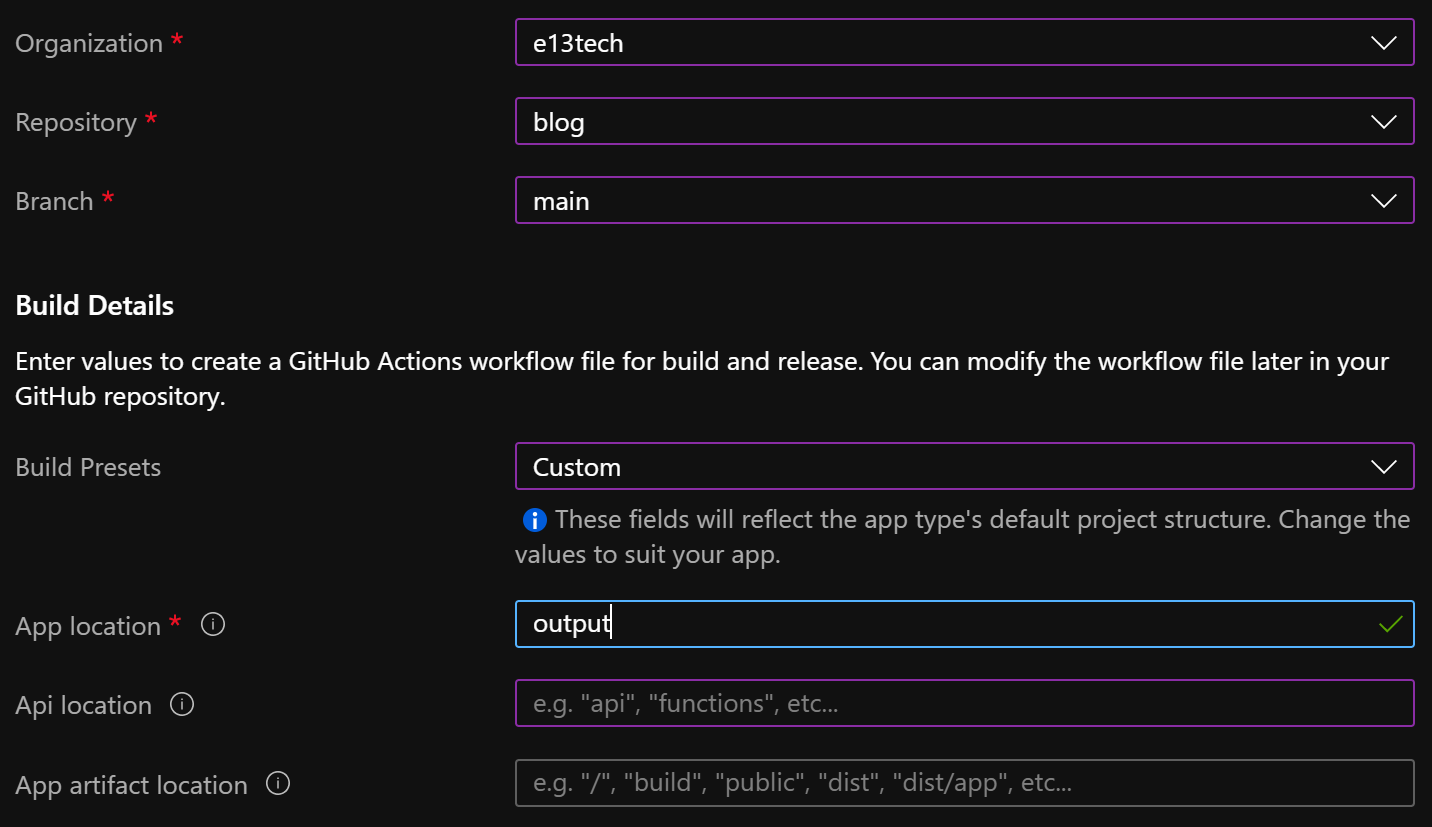
Enter the details to your github repository

The important details here are using the
CustomBuild Preset with the App location ofoutput. For Statiq there is no need for an Api or App artifact location so clear those out. However being able to tie the deployment of an Api as an Azure Function opens up some incredible opportunities for expanding to a more dynamic solution.Wait for the resource to be created
I don't normally document wait steps but this one is important. As part of the resource creation a new GitHub workflow will be created in the branch specific at creation time complete with the secrets to access the newly created resource. Once you have verified that the GitHub workflow has been created successfully then we can modify it.Update the auto generated workflow yml to run the Statiq console app and produce the output that will actually get published to Azure. Note: do not attempt to rename the file because the created azure resource refers to it for some of it's functionality.
name: Azure Static Web Apps CI/CD

on:
  pull_request:
  types: [opened, synchronize, reopened, closed]
  branches: [main]

jobs:
 build:
    if: github.event_name == 'push' || (github.event_name == 'pull_request' && github.event.action != 'closed')
    runs-on: ubuntu-latest
    name: Build And Update Pull Request

    steps:
    - uses: actions/checkout@v2
    - uses: actions/setup-dotnet@v1
      with:
        dotnet-version: 5.0.100
    - run: dotnet restore
    - run: dotnet build --configuration Release --no-restore
    - run: dotnet run --output output
    - name: Build And Deploy
      id: builddeploy
      uses: Azure/static-web-apps-deploy@v0.0.1-preview
      with:
        azure_static_web_apps_api_token: ${{ secrets.AZURE_STATIC_WEB_APPS_API_TOKEN_... }}
        repo_token: ${{ secrets.GITHUB_TOKEN }}
        action: "upload"
        app_location: "output" # App source code path
        api_location: "" # Api source code path - optional
        output_location: "" # Built app content directory - optional

close_pull_request_job:
  if: github.event_name == 'pull_request' && github.event.action == 'closed'
  runs-on: ubuntu-latest
  name: Close Pull Request Job
  steps:
    - name: Close Pull Request
      id: closepullrequest
      uses: Azure/static-web-apps-deploy@v0.0.1-preview
      with:
        azure_static_web_apps_api_token: ${{ secrets.AZURE_STATIC_WEB_APPS_API_TOKEN_... }}
        action: "close"
This is a large file but my changes can be broken down into a few segments
- [1] : Keep the workflow name the auto-generated one because there is a link w/in Azure that is looking specifically for that
- [3-6] : Setup a trigger on pull requests going into the main branch. My preference is to have feature branches for my blog articles and to create a PR for each into main branch while I work on them.
- [14-21] : The series of standard steps that prepares a .NET 5 environment
- [21] : Run the console app directing the generated content to an
outputdirectory
- [21] : Run the console app directing the generated content to an
- [22-31] : The original step that was generated by Azure to do the actual publish
- [29] : app_location needs to match the same path that was used on [24], in this example
output - [30,31] : api_location and output_location are not required for this Statiq example but ensure they are left blank
- [29] : app_location needs to match the same path that was used on [24], in this example
- [33-43] : This job triggers on the closure of a pull request to clean up the staging url that can be used to preview the output of a branch that is still in development
- [26,42] : These lines point to the secret that is generated in the github repository, this name will be uniquely generated and set to your application
Recap
Now even though it was not defined as a template originally we are able streamline the process of developing content using Statiq and having it automatically deploy to Azure. The best part of this workflow is that I can create a branch for each topic that I am beginning blogs on and as long as there is an open pull request attached to the branch then the github action will create a unique url. This allows you to share that url with anyone to review the actual generated content exactly as it would in production, and once the PR is merged and accepted no additional steps are required in order to publish to production.
This is convenient for a personal blog like this so I can loop in colleagues for help proofing a post before it's done. You can probably also see how beneficial this could be for a corporate blog or anywhere that content needs to be reviewed or approved. Setting up a CI/CD flow is usually more complex involving setting up environments, approval processes, etc. Microsoft has done a fantastic job creating this offering and especially while it's in preview you'd be hard pressed to find a more appealing option while it is free to use.
What kind of projects will you setup using this workflow? What adjustments will you make to improve it? Share with others in the comments below!
Special Thanks to Antonino Visalli on Unsplashfor the photo that was used in this post
